Learning to ride a motorcycle takes most people one to three days of practice to feel comfortable with the basic controls, and another few weeks of regular riding before those controls become automatic. The gap between understanding what to do and doing it without thinking is where most beginner mistakes happen. This guide covers the controls, the sequence to learn them, and what to practice before getting onto public roads.
- Check out motorcycle tours in Vietnam
How to ride a motorcycle for beginners: the full and easy guide
The steps below follow the order that works. Learning the controls before starting the engine, practicing the clutch before attempting to move, and getting comfortable in a car park before riding in traffic are not suggestions, they are the sequence that prevents most beginner crashes. Skip steps at your own risk.

Step 1: Gear up before you touch the bike
Protective gear goes on before the engine starts. A motorcycle offers no barrier between the rider and the road surface, and the injuries from even a low-speed fall on bare skin are significant. The minimum gear for any beginner session is a full-face helmet certified to your country’s safety standard, gloves with palm and knuckle protection, a jacket with elbow and shoulder armor, full-length trousers, and ankle-covering boots with a stiff sole.
The helmet fit matters more than the brand. It should sit level on your head, contact your forehead and cheeks without pressure points, and not move when you push up on the chin bar with both hands. A loose helmet provides significantly less protection than a correctly fitted one.
Gear does not restrict your ability to control the bike. If it does, it does not fit correctly. You need full range of motion at the wrists for throttle and brake control, and at the ankles for gear shifting and rear braking.

Step 2: Learn the controls before starting the engine
Sit on the stationary bike and locate every control before the engine runs. This takes ten minutes and prevents the panic of looking for a lever while the bike is moving.
Right hand controls
The throttle is the rubber grip on the right handlebar. Roll it toward you (rotate the grip downward and toward your body) to open the throttle and increase engine speed. Roll it away from you to close it and reduce engine speed. On a running bike, releasing the throttle completely returns it to idle through a spring mechanism. Never hold the throttle open when not intending to accelerate.
The front brake lever sits just in front of the throttle on the right handlebar. Squeeze it with your fingers to apply the front brake. The front brake provides approximately 70 to 75 percent of a motorcycle’s total stopping power. Squeezing it suddenly and hard, especially in a corner, causes the front wheel to lock and the bike to fall. Squeeze progressively, increasing pressure over the first half second, not all at once.
Left hand controls
The clutch lever is on the left handlebar, mirroring the position of the front brake on the right. Squeezing it fully disconnects engine power from the rear wheel, allowing gear changes without damaging the gearbox. Releasing it reconnects engine power to the rear wheel. The critical zone is the friction point, the position where the clutch begins to engage and the bike starts to move. Finding and controlling the friction point is the single most important beginner skill.
Right foot controls
The rear brake pedal sits in front of the right footpeg. Press it down with the ball of your right foot to apply the rear brake. The rear brake provides 25 to 30 percent of total stopping power and is used in combination with the front brake for normal stops. For slow-speed manoeuvring in car parks and tight turns, light rear brake pressure while maintaining gentle throttle gives you precise speed control.
Left foot controls
The gear shifter sits in front of the left footpeg. Lift it up with your toe to shift up a gear. Press it down with your toe to shift down a gear. The gear pattern on most motorcycles is: first gear is one press down from neutral, neutral is the position between first and second, and gears two through six are sequential presses upward. The neutral indicator light on the dash illuminates when the bike is in neutral. In first gear and all higher gears, the light goes off.
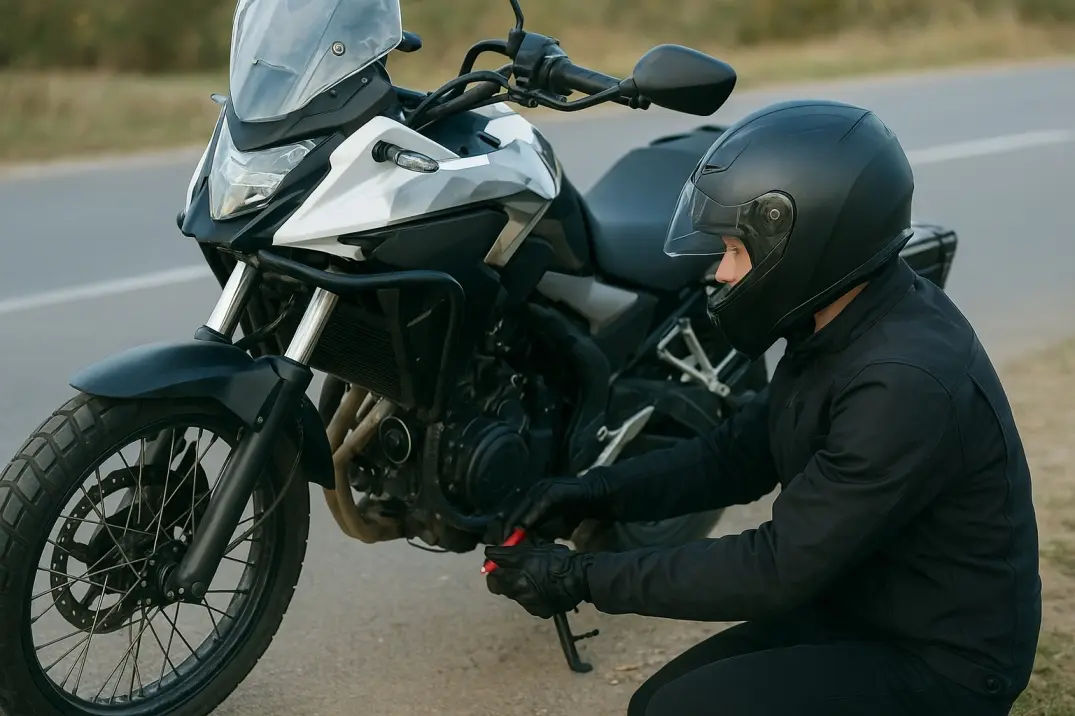
Step 3: Inspect the bike before every ride
A pre-ride check takes three minutes and covers the items most likely to cause problems on the road. Check tire pressure by pressing firmly on each tire with your thumb: a properly inflated tire resists the pressure. Check the tire surface for cuts, embedded objects, and uneven wear. Check the chain on the left side of the rear wheel: it should have approximately 25 to 30mm of up-and-down movement at the midpoint between the sprockets, and should be clean and lubricated rather than dry and rusted.
Check the engine oil level through the sight glass on the right side of the engine, the brake fluid level in the reservoir on the right handlebar, and the fuel level. Squeeze the front brake lever and press the rear brake pedal separately to confirm the brake light illuminates each time. Check that both mirrors are positioned so you can see the road behind you without moving your head significantly.
Step 4: Start the engine correctly
Turn the ignition key to ON. The dash will illuminate and the fuel pump will prime. Confirm the neutral indicator is lit, meaning the bike is in neutral. If it is not, squeeze the clutch lever fully and use the gear shifter to find neutral. On most bikes, neutral sits between first and second gear and requires a light upward tap from first rather than a full lift.
With the bike in neutral and the kill switch in the RUN position, press the starter button on the right handlebar. The engine will start within one to three seconds. Release the starter button as soon as the engine fires. Let the engine idle for 30 to 60 seconds before riding, especially in cold weather, to allow oil to circulate through the engine before load is applied.
Step 5: Find the friction point — practice this before moving
This is the step that most beginner guides rush past. The friction point is the position of the clutch lever where the clutch plates begin to engage and the engine starts to transmit power to the rear wheel. Every motorcycle has a friction point at a slightly different lever position and finding yours before attempting to move saves you from stalling repeatedly.
With the engine running in neutral, squeeze the clutch lever fully. Shift down into first gear with your left foot. You are now in first gear with the clutch fully disengaged, meaning the engine is running but no power is going to the rear wheel. The bike will not move yet.
Slowly, over two to three seconds, begin releasing the clutch lever. At some point you will feel the bike trying to move forward, a slight lurch or a change in engine note. That is the friction point. When you feel it, stop releasing the lever and hold it at that exact position. Practice finding this point five times without moving the bike before attempting to ride. When you can find it consistently, you are ready to add throttle.
Step 6: Move off from a standstill
To move the bike from a standstill in a car park or empty space:
- Engine running, first gear selected, clutch lever fully squeezed in.
- Apply a small amount of throttle, less than you think is needed. The engine note will rise slightly.
- Slowly release the clutch to the friction point. The bike will begin to move forward.
- Continue releasing the clutch the rest of the way while maintaining steady throttle.
- Once moving at walking pace, place both feet on the footpegs.
Stalling at this stage is normal and expected. If the bike stalls, squeeze the clutch immediately, put both feet down, start the engine again, and repeat. Most beginners stall five to fifteen times before the throttle and clutch coordination becomes consistent. This is the correct place to stall, in a car park, not on a road.
Step 7: Shifting gears up and down
First gear on most motorcycles is used only for starting from a standstill and for very slow manoeuvring below 15 km/h. Above 15 to 20 km/h the engine is running at high revs in first gear and the bike will feel strained. Shift to second gear.
To upshift: roll off the throttle, squeeze the clutch fully, lift the gear lever up one click with your toe, release the clutch smoothly while rolling the throttle back on. The entire process takes less than a second once practiced. The gear change should produce no jerk. If it jerks, the clutch was released too quickly or the throttle was not re-applied smoothly enough.
To downshift: roll off the throttle, squeeze the clutch fully, press the gear lever down one click with your toe, release the clutch smoothly. Downshifting requires slightly more care than upshifting because the engine speed needs to roughly match the wheel speed for the gear being selected. Releasing the clutch too quickly in a lower gear causes the rear wheel to brake sharply, which can cause a skid on loose surfaces or low-traction conditions.
Do not downshift directly to first gear unless the bike has come to a complete stop or is moving at walking pace. At any speed above 10 km/h, dropping to first gear causes significant rear wheel braking and instability.
Step 8: Braking to a controlled stop
Apply both brakes together for all normal stops. Squeeze the front brake lever progressively while pressing the rear brake pedal with moderate foot pressure. The front brake does the majority of the work. At the same time, squeeze the clutch lever to disengage the engine and begin downshifting through the gears as speed decreases.
As the bike slows to a stop, shift down to first gear and put your left foot on the ground first, keeping the right foot on the rear brake pedal. This allows you to hold the bike stable with the rear brake while both feet support the bike at a complete stop.
The most common beginner braking mistake is grabbing only the front brake lever hard in a moment of urgency. The front wheel locks, the bike goes down. Practice controlled stops from 30 km/h in the car park until the front-and-rear-together technique is automatic before riding in traffic.
Step 9: Turning and cornering
At low speeds in car parks, turning a motorcycle requires you to push on the handlebar in the direction you want to turn. This is called countersteering and it is how every motorcycle above walking pace turns. Push the right handlebar to go right, push the left handlebar to go left. The bike leans and curves in the direction of the push. This feels counterintuitive at first and becomes automatic within a few hours of practice.
Reduce speed before entering any turn. The correct sequence is: brake before the corner, not during it. Set your speed before the turn starts, release the brakes as you enter the turn, and apply a small amount of throttle through the corner to maintain stability. Braking mid-corner while leaned over reduces the traction available for cornering and increases the risk of a slide.
Look through the corner rather than at the road directly in front of the wheel. Your body follows your eyes on a motorcycle, and riders who look at the corner entry point fail to follow the road around the bend. Turn your head to look at the corner exit from the moment you enter the turn.
Step 10: Lane position and road awareness
A motorcycle lane position is not fixed. The correct position changes based on what is ahead, what is beside you, and what other drivers can see. Three positions within a lane are standard: the left third, the center, and the right third. Riding in the center is the default. Move to the left third to increase your view around right-hand bends. Move to the right third to increase your view around left-hand bends.
Avoid riding in the blind spots of cars and trucks. A car’s blind spot sits approximately one to two meters behind and beside the car, in the zone the driver cannot see in mirrors or with a head check. If you find yourself riding next to a car for more than a few seconds, accelerate past it or drop back, do not linger beside it.
On roads with heavy traffic, look as far ahead as possible rather than at the vehicle immediately in front. The further ahead you see, the more time you have to respond to anything that changes in the traffic ahead of you.
What to practice in a car park before riding on public roads
Before any beginner rides on a public road, the following should be comfortable and consistent in a car park or empty space:
- Move off from a standstill without stalling three times in a row.
- Shift from first to second and back to first without jerking.
- Brake to a controlled stop from 30 km/h using both brakes together.
- Complete a U-turn in both directions within a standard parking space width.
- Ride in a straight line at 20 km/h with both feet on the pegs for 50 meters.
None of these require speed or distance. They require control. A rider who can do all five consistently is ready for quiet roads. A rider who cannot yet do any one of them reliably should stay in the car park.
Common beginner mistakes and how to avoid them
Looking down at the front wheel
Beginners who look at the road directly in front of the wheel lose the ability to anticipate what is ahead. Look at where you want to be 3 to 5 seconds from now, not where the front wheel is pointing right now. This applies in car parks, on straight roads, and especially in corners.
Releasing the clutch too fast
The clutch on a motorcycle has a longer travel distance than a car clutch and requires a slower, more deliberate release. Beginners who snap the clutch out stall the bike repeatedly or cause a sharp lurch forward. Aim for a two-second release from the friction point to fully out. Once the habit is set it can be shortened, but start slow.
Holding the throttle open when braking
Some beginners grip the throttle tightly when scared and inadvertently hold it open while squeezing the front brake. The result is the engine fighting the brakes. Roll off the throttle completely before or at the same moment as applying the brakes.
Only using the front brake
The front brake alone provides enough force to stop a motorcycle but it also transfers weight sharply to the front wheel, reducing rear-wheel traction. Using both brakes together distributes the load, keeps the bike stable, and gives a shorter stopping distance than front brake alone.
Braking in a corner
Applying significant braking while the bike is leaned over in a corner reduces the traction available to maintain the lean. The correct approach is to complete braking before the corner begins, not during it.
How long does it take to learn to ride a motorcycle
Most people with no prior motorcycle experience can reach basic competence, moving off, stopping, shifting gears, and making basic turns, within one to two full days of practice. Riding comfortably in light traffic without conscious effort on the controls takes two to four weeks of regular riding. Riding confidently on mountain roads, in heavy traffic, or at night takes longer and depends on how frequently you ride.
A structured riding course compresses the learning curve significantly. Instructors correct technique errors immediately rather than allowing beginners to practice incorrect habits until they become automatic. If a motorcycle riding school or formal beginner course is available in your area, completing it before riding on public roads is the most efficient and safest route to competence.
- Check out Motorbike tour operator in Vietnam
FAQs: how to ride a motorcycle for beginners
What is the best way for a beginner to start learning to ride a motorbike?
Start in a car park or empty space, not on public roads. Learn the friction point of the clutch before attempting to move. Practice moving off from a standstill until you can do it without stalling three times in a row. Practice controlled stops from 30 km/h before attempting traffic. The controls need to feel automatic before road riding is safe.
How hard is it to learn to ride a motorcycle for the first time?
The basic controls, throttle, clutch, brakes, and gears, take most people a few hours to understand and one to two days of practice to coordinate reliably. The difficulty is not in understanding what to do but in making the coordination automatic under pressure. Riders who practice in a car park until the controls feel natural before riding in traffic find the transition significantly easier.
What gear do I need as a motorcycle beginner?
At minimum: a full-face helmet certified to your country’s safety standard, gloves with palm and knuckle protection, a jacket with elbow and shoulder armor, full-length trousers, and ankle-covering boots. This applies to car park practice as well as road riding. Falls happen at low speed and in unexpected situations.
What is the friction point on a motorcycle clutch?
The friction point is the position of the clutch lever where the clutch plates begin to engage and the engine starts to drive the rear wheel. Releasing the clutch lever from fully squeezed in, the friction point is the position where the engine note changes and the bike begins to move. Every motorcycle has its friction point at a slightly different lever position. Finding and controlling your bike’s friction point is the first practical skill to develop.
Should beginners use both brakes when stopping?
Yes. The front brake provides approximately 70 to 75 percent of stopping power and the rear brake provides the remaining 25 to 30 percent. Using both together distributes the braking load, keeps the bike stable, and gives a shorter stopping distance than either brake alone. The most dangerous habit a beginner can develop is relying on the front brake only, because grabbing it hard in an emergency locks the front wheel.
What is the gear pattern on a motorcycle?
On most motorcycles the gear pattern is: one press down from neutral for first gear, one light upward tap from first for neutral, then sequential upward presses for second through sixth gear. The order from bottom to top is 1, neutral, 2, 3, 4, 5, 6. The neutral indicator on the dash illuminates when the bike is in neutral.
Is it safe to learn to ride a motorcycle on a public road?
Beginner practice belongs in a car park or empty space, not on public roads. Public roads add traffic, road markings, junctions, pedestrians, and other variables that require attention a beginner cannot spare while learning basic controls. Most motorcycle crashes involving beginners happen because the rider encountered a situation requiring a control input they had not yet made automatic.